Ok you guys know how excited I get to share a good cookie recipe with you. I am seriously SO excited about this one. First let me give you the backstory behind these delicious beauties. I created Weeknight Bite a little over 3 years ago on Weebly, which is a super easy-to-use website building platform. I feel really lucky that any time I have an issue with my site, I can contact the Weebly team to help me out – definitely important for this not-so-techy blogger! My go-to contact at Weebly, Elisabeth, was helping me out and happened to mention her Peanut Butter Cookie recipe. She told me it’s only 3 ingredients and they’re done in 10 minutes. WHAT! I had to have her recipe. Just PB, sugar, and egg, Elisabeth said. Really? I was so curious about them that I baked them the second I got home from work. I decided to use coconut sugar instead of white sugar because it’s pure and unrefined and it won’t spike your blood sugar level like white sugar does. Within 5 minutes, the cookies were in the oven and 10 minutes later, I was in peanut butter heaven! I felt like I was eating a warm Reese’s Peanut Butter Cup, and at just about 100 calories per cookie (and 3 grams of protein!), it’s totally guilt free!
So the first time I made these, Mitch and I ate them so quickly that I forgot to take any photos. The very next day, I made a second batch, and our level of self-control was still pretty laughable, so my best advice for you is to eat one or two at a time, and then hide them and try to forget they exist until its dessert time the next day! 🙂
Ingredients
1 cup peanut butter (my all time fave is Justin’s Honey PB)
1 cup coconut sugar
1 egg
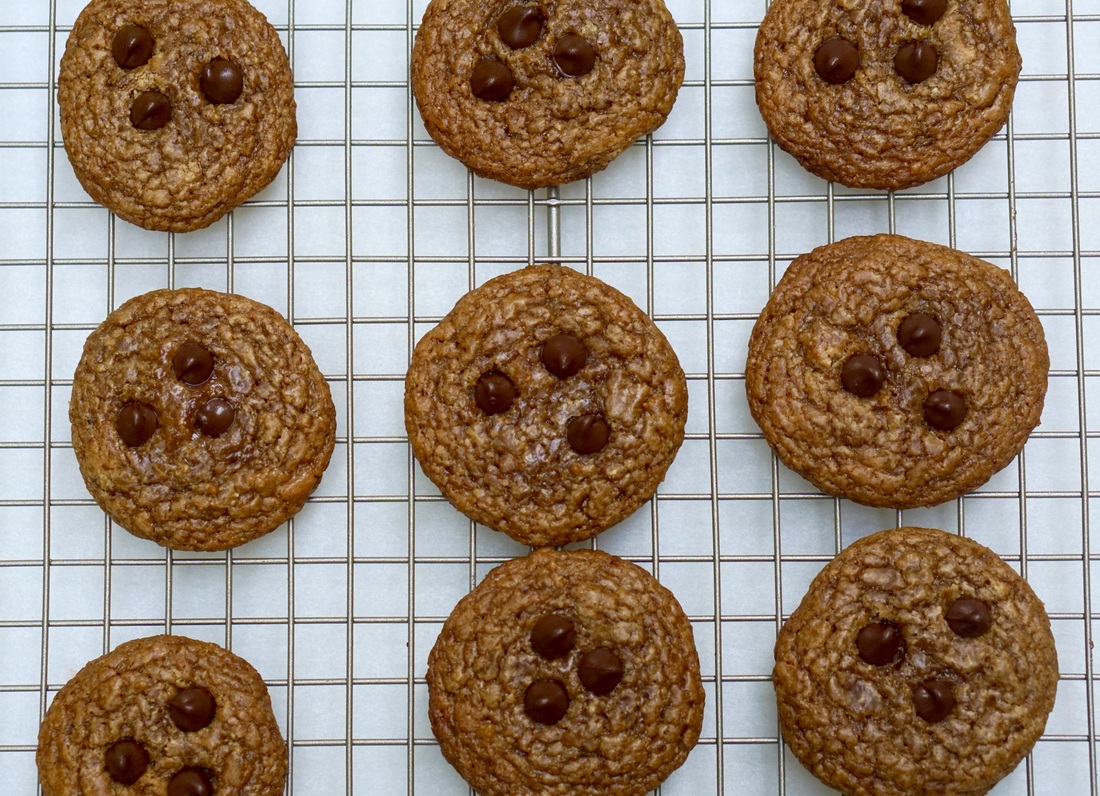
Optional: a couple chocolate chips to top each cookie
Yields 15-20 cookies.
Preheat oven to 350.
Mix the PB, coconut sugar, and egg in a bowl until it forms a paste.
Then roll the dough into small cookie balls and arrange on a (sprayed) baking sheet. Flatten each dough ball slightly.
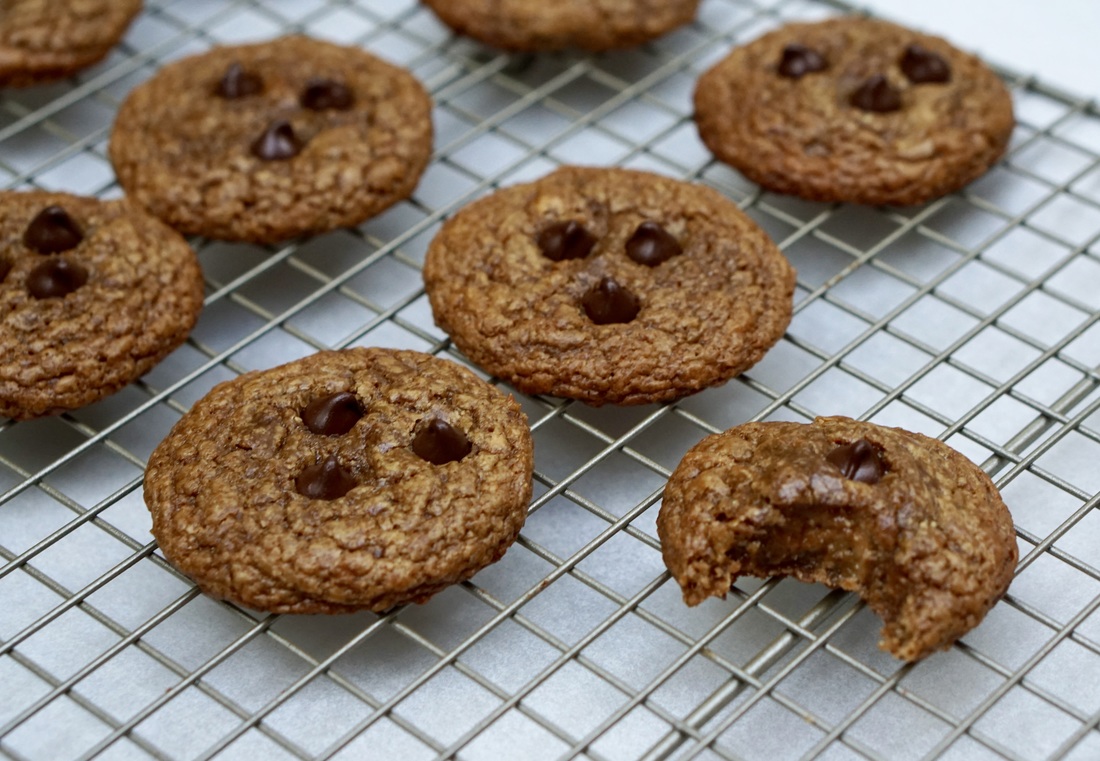
Bake for 10 minutes if you like them soft and chewy. A few more minutes for a crunch.
Remove from the oven, and if you’d like, add a few chocolate chips on top.
Note: you can also use a fork to make the cute criss cross pattern on top of the cookie before putting them in the oven. This looks nice especially if you don’t add the chocolate chips. But obviously I go with chippers all the way.

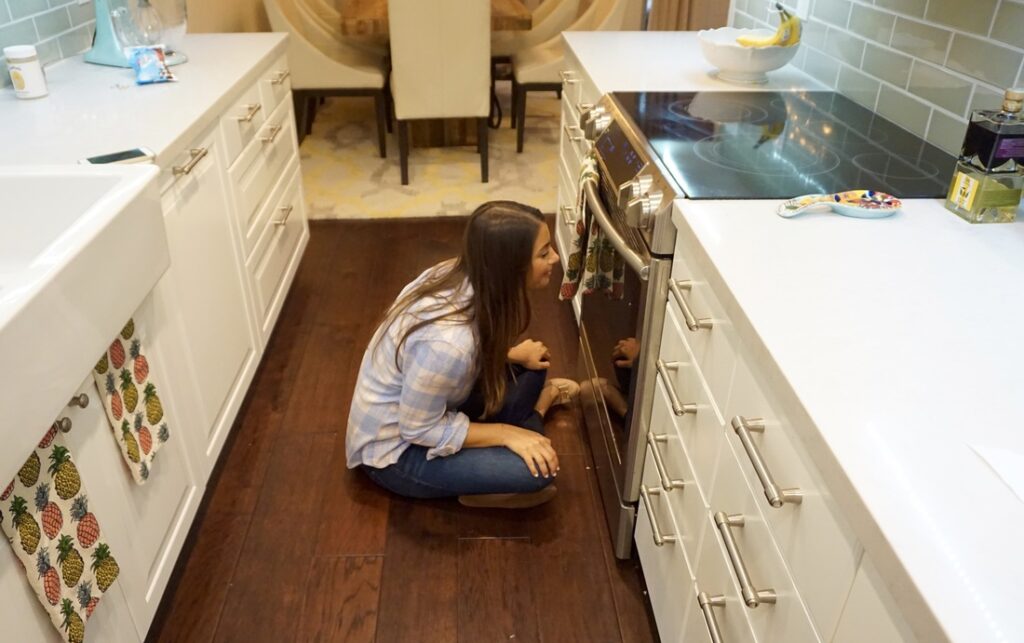
In case you’re wondering just how happy I get when cookies are in the oven – Mitch captured my true inner 5 year old sitting in front of the oven and watching them bake. Pretty standard in our kitchen!


Hope you love this recipe as much as we did! Thank you to Elisabeth for the inspiration!! xo